

| Name: | Extrication Device |
|---|---|
| Model No.: | BES-7H |
| Material: | Aluminum |
| Price: | US59 |
| Brand: | BESCO |
| MOQ: | 20 UNITS |
| color: | GREEN,YELLOW,ORANGE |
| Lead time: | 20 days |
| Sample: | Available |
| Payment Term: | T/T in advance |
| Country of Original: | China |
| Port of Loading: | Qingdao |
| Factory Address: | Changyuan,China |
| Office: | Zhengzhou,China |
Products Description
extrication device(Medical equipment emergency )
Product Description
Ⅰ. Description
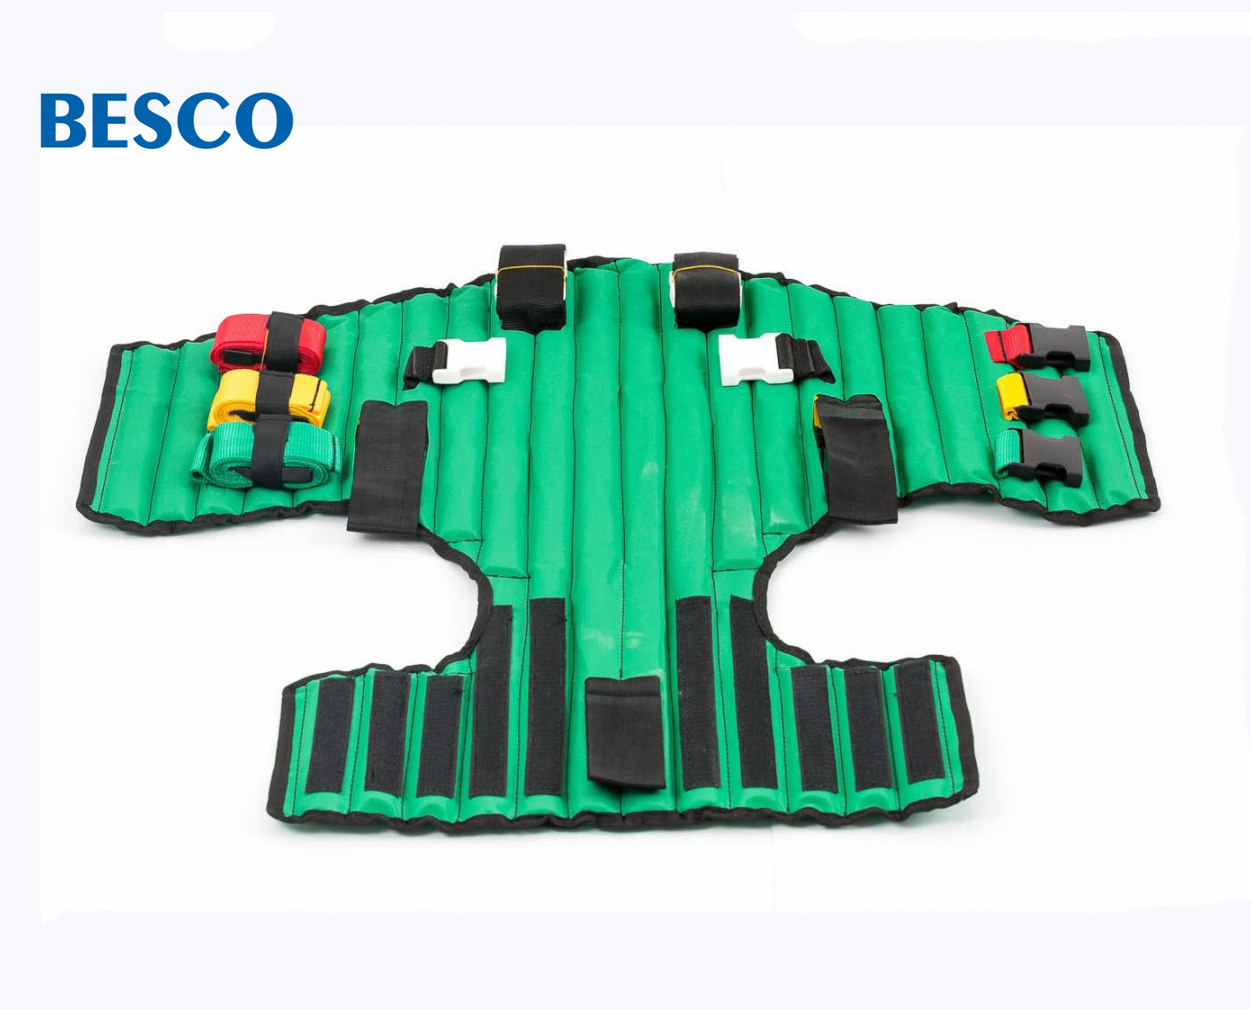
This Extrication Device is designed to immobilize patient when get injury of spinal.
Design permits its use as a versatile splinting device for suspected rib fractures,hip fractures or pelvic fractures. Chest flaps can be folded back for use of cardiac monitoring or defibrillation equipment. It may be X-rayed and also can be adapted for use on small children and pregnant women.
Ⅱ. Technical Parameters
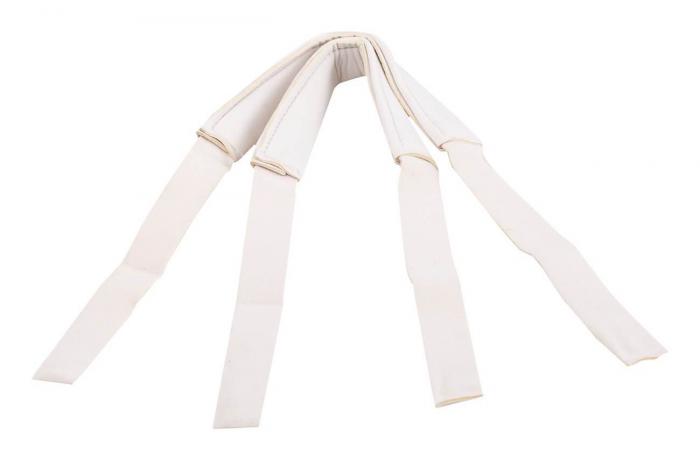
Configuration:wrap-around jacket, adjustable neck roll 2 forehead/chin straps and carry bag.
Material:strengthen oxford fabric & bamboo
Product size: 83*85*2cm
Packing: 5 units/carton
Packing size: 85*28*45 cm
N.W:3.3 kg (single)
G.W:19.6 kg
Ⅲ. How to use
Part 1.
Remove the Extrication Device from the case and unroll it.Set aside neck pad and head restraint straps.
It is recommended that three responders be available during the application of this device.
One responder should manually stabilize the head and neck while the appropriately sized cervical collar(not included) is selected and applied.The head and neck should continue to be supported manually throughout the procedure.With a responder on either side of patient,gently slide the extrication device behind the back while minimizing any patient movement.The restraints will face away from the patient.Make sure the extrication device is centered on the patient's spine.
Part 2.
The chest restraints are folded and held in place with hook-and-loop fasteners.
Release them by loosening the fasteners. Notice that the straps are adjustable in length.The tang-ended straps will be on the patient's right side,the receivers on the left.
Pull the leg straps with the white buckles out from behind the patient and lay them out to the sides,out of the way.
Fasten the middle and bottom chest restraints.Leave the top chest restraint unfastened for now.
Lift the extrication device into position behind the patient,until the chest flaps are seated firmly under the patient's armpits.Tighten the middle and bottom chest restraints.
Pass the corresponding leg restraint under each of the patient's legs.Pull the strap end up between the legs and fasten the tang to the receiver on the opposite side of the extrication device.Tighten both leg restraints.
Part 3.
Fill any gap between the patient's neck and extrication device using the provided neck pad or other padding.The neck pad can be folded on increase thickness.
Wrap the head flaps around the patient's head,and use one of the white head restraint straps to secure the flaps around the patient's forhead.Use the other head restraint strap to secure the head flaps around the patient's chin.
Part 4.
Fasten and tighten the upper chest restraint.Check to make sure all restraints are properly tightened.Confirm that the extrication device is centered and in position along the length of the spine,and that the chest flaps are firmly under the armpits.
Carefully turn,tilt or lift the patient to extricate to a backboard or other spinal transport device.Secure the patient and the extrication device to the backboard using restraint straps.
Ⅳ. Note
Each user should read the instructions carefully and practice with the extrication device before use.
They are general guidelines for the use of this device.
Detailed Product Description:
Surrounding designed to fix the patient. Applicable for patients injured in rib.
Strips are in three colors, which can be quickly fixed. It is equipped with nylon buckles and safety belts.
When used simultaneously with a neck fixation, the patient should be -in sitting position, then be transferrfed to a PE stretcher.
An extrication device is a piece of emergency equipment, like the Kendrick Extrication Device (KED), used by first responders to safely remove a person from a dangerous situation, such as a vehicle collision or confined space, while immobilizing the head, neck, and torso to prevent further injury. These devices come in different forms, but they all aim to provide support and stability during the patient's movement to an ambulance or safety zone.
Key Characteristics and Uses
Immobilization:
The primary purpose is to stabilize the spine, head, and neck to minimize movement and reduce the risk of spinal cord injury.
Versatility:
Many extrication devices, like the KED, are designed to be used in both horizontal and vertical positions and are effective for patients in seated positions.
Patient Types:
Some models are adapted for use on pregnant patients and children.
Scene Safety:
Before applying the device, responders assess the scene to ensure their safety and the patient's condition.
Confinement:
The Kendrick Extrication Device is particularly useful in confined spaces or motor vehicle accidents where a long backboard may be impractical.
How the Kendrick Extrication Device (KED) Works
1. Assessment:
After ensuring scene safety, the responder will assess the patient for potential spinal injuries.
2. Application:
The KED is a wrap-around vest-like device with color-coded straps for ease of use.
3. Stabilization:
The device is applied around the victim's torso and secured with head and leg straps, effectively immobilizing the spine, neck, and head.
4. Extrication:
Once secured, the patient can be carefully moved onto a backboard for transport.
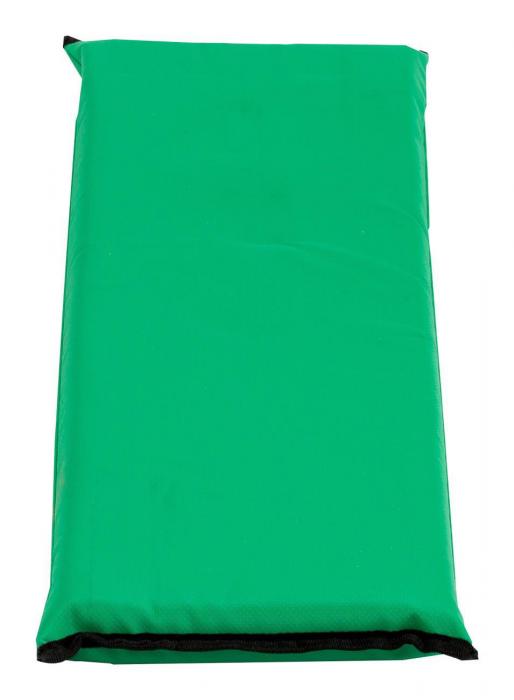
Related Products

 Send Email